How to photograph springtails: the secrets of extreme macro
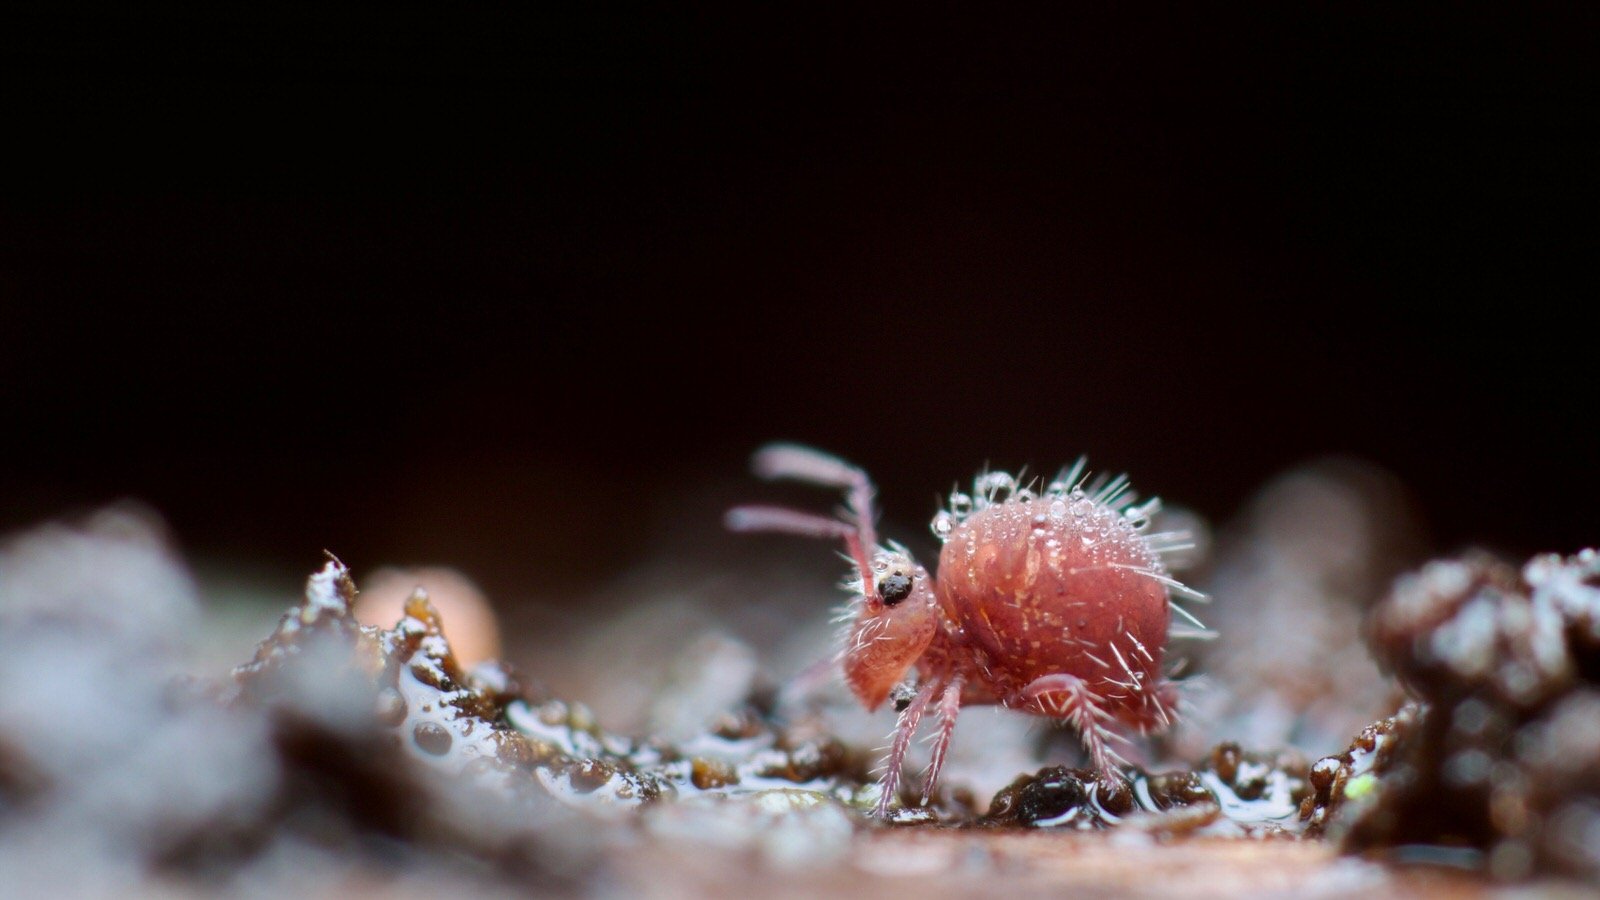
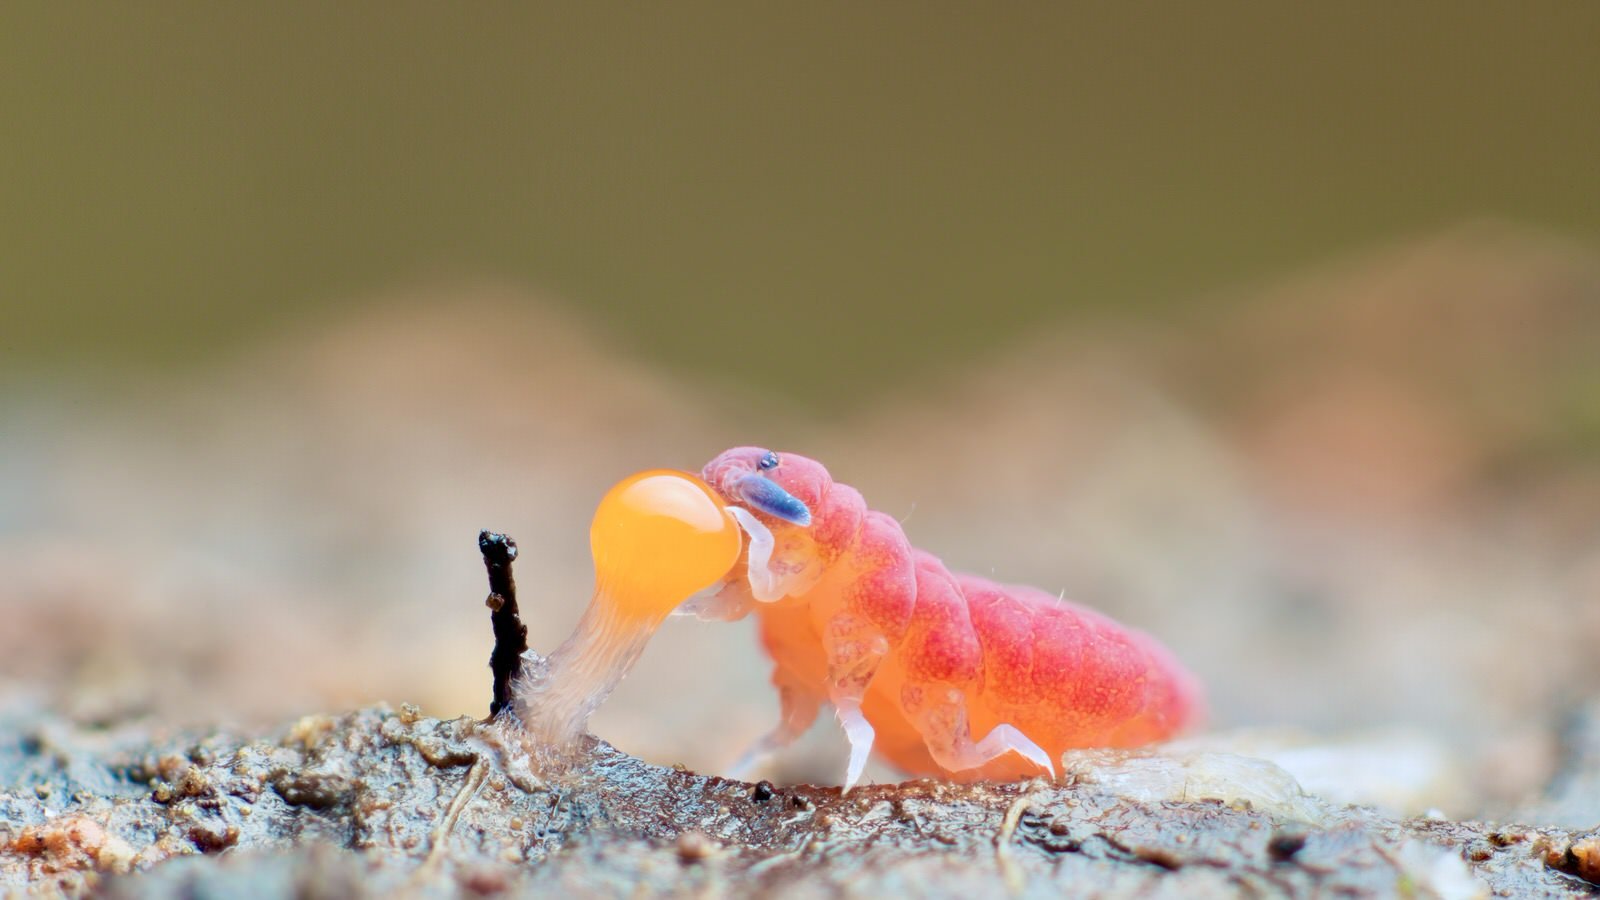
Dicyrtomina saundersi, Wells, Somerset, UK
After years of being asked how on earth I manage to take decent photos of springtails (as well as all the other tiny mesofauna), I finally decided that it was time to write down my thoughts on the subject and try to explain myself and the things I’ve learned over the years, as well as the mistakes I’ve made and how I’ve improved my macro technique (these are hard-won, as I’m a very slow learner). While these are based on my many years of photographing springtails through extreme macro and micro photography, they are still just my subjective opinions and some may well differ for you.
The kind of extreme macro photography that I and others do isn’t easy and takes a fair bit of practice, huge patience and luck. It’s honestly not that hard for anyone to take a bad, even average photo of these tiny animals. But as I discovered pretty early on, if you want to get to the point of taking good, even great photos (and this goes for all photography, just with some specifics needed for extreme macro), you need to have a love for the subject matter, a desire to express yourself through photography, a fair bit of dedication, and an understanding of such things as lighting and composition, and how f stops, diffraction and diffusion work. Hopefully this post will help in some of those things at least.
What is the difference between macro, extreme macro and micro photography?
Macro photography can be defined as a life-size 1:1 representation of a subject, so for example, on a 36 mm sensor, a 36mm long animal would take up the entirety of the sensor length. In comparison, a 1 mm springtail would take up only 1/36 of the sensor length. Extreme macro photography can be defined as larger than life-size, up to 10:1. Micro photography is anything beyond 10:1.
Why do I do it?
I think this is an interesting question and one I would love to ask other macro photographers who document the soil mesofauna. For me, thanks to the power of autism, I’ve had unwavering singular and unusual interests since I was little, combined with an unlimited dedication and ability to focus, so after starting macro photography and then finding out about Collembola (springtails) around 13 years ago, that was it. I fell in love and I was all in. It was like getting fresh air after trying to breathe under water. The other soil animals I also began to photograph were and are also hugely loved of course, but they are being emotionally lit by a secondary glow, rather than the focused, primary blaze, so to speak.
It’s no overstatement to say that these tiny animals have changed my life. Unlike my other interests that would get replaced over time by the next thing, I have retained an endless, boundless love and passion for springtails all these years through photography, with those feelings taking me around the world a few times to photograph them (despite my profound struggles with travel, change, noise and being around other people). I’ve ended up becoming a quite well-known soil animal photographer (there aren’t many), and is the only kind of tiny non-fame I can deal with. While being autistic can deeply suck because of the things I’m not able to do, it has truly given me the most wonderful, interesting, colourful life I could imagine. And for that I feel very lucky and incredible grateful.
Studio set ups
While I appreciate the skill needed in studio macro photography, it doesn’t interest me in the slightest. It works for some people, of course, and it is certainly possible to achieve decent-looking photos in this way, with plenty of online resources available for those that want that kind of control over the medium. But honestly, for me it would just feel empty, like cheating the journey, and where’s the fun in that? I need to be outside, in the elements, getting muddy, hot and tired, trekking for hours through some amazing countryside with my camera gear, having an adventure. It’s surely supposed to take some actual effort, with risks, difficulty, learning, and small returns. It’s a trade that I willingly make, every time I go out with a camera.
The dislike I have for studio macro photography is also on a sliding macro rail of horror, from taking live animals from the wild, through to cooling specimens in the fridge so that they are temporarily unable to move until they warm up, and finishing with mounting dead animals on pins and clips. Not for me.
What happens in nature, stays in nature
So, to summarise, there are no short cuts in my macro photography. All my photos are taken in the field with live animals that can jump and run away at any point, and this potential for wasting my time absolutely underlies everything.
Tropical rainforest photography, Mexico
For me, every finished photo is necessarily intertwined with a story of me being outside in the cold, heat or wet, usually in an incredibly beautiful place, and often experiencing frustratingly long hours on my knees searching through leaf litter on forest floors, sliding around in the dark of a dripping, cold cave, or balancing on steep hillsides, looking under stones, all to make a kind of personal link with my subject. Part of me must obviously enjoy the endorphins and dopamine hit that is chemically tethered to the gamble of a treasure hunt.
With that said, here are my general top tips…
Going raw
Never, never shoot photos in jpeg. The file format doesn’t retain all the data present when the photo was taken, and images degrade quickly when edited so while they are an efficient way of storing large amounts of photos easily, stick to RAW. You will also lose some of the precious details you can retain by using RAW. You can rescue under- and over-exposed images far better this way, and edit from a neutral file as well as having a lossless format that will always retain all the data from each shot. You will also fill up a computer’s storage very easily, so be warned. Either store in the cloud, have an external hard drive, or have a large SSD on your computer.
Equipment
For general macro photography, there are four choices. The first is to use a reversed lens, which is a reasonable and cheap solution, but not discussed here. The second is a Raynox lens or similar which attaches to the front of another lens and acts to refocus the lens to a higher magnification. Some decent results can be achieved with them but again, I won’t discuss them here as I have very little experience of them and I prefer my own set up, as well as there being issues with softness and lack of quality. The third is to attach a microscope objective to a camera using specialised rings. A microscope objective provides an incredibly sharp image, but is more appropriate for crazy 200 image stacking using a rail due to its tiny available depth of field and so is also not covered here, as well as not being part of my experience. The fourth is to use a dedicated macro lens, such as a 60mm, 100mm and 180mm 1:1 lens (really only suitable for 1:1 macro photography), or a more specialist, higher magnification lens like the Laowa 28mm x2-5 lens or the Canon MPE 65mm 1:5. A newer option is the Olympus micro four thirds system, using the OM System M.Zuiko Digital 90 mm 1:3.5 lens. It’s potentially a very exciting combination with the OM-1 camera and it’s the first system I’ve seen that might make me exchange my very old and bulky but still very good Canon set up. We will see. Anyway, although my take in this post is specific to my experience with the Canon MPE and the (kind of equivalent) Laowa lens, nearly all of the information will apply across the board..
I also use extender tubes with my lens, which increase the magnification without losing quality. My set up can be up to 60 cm long, and is very hard to work with, but possible. I’ve had many arguments on line from people telling me that a Canon MPE can only be used in the studio and not in the field, due to its difficulty. After 13 years of doing exactly that, I can say that that is obviously and demonstratively not true…
Through a glass, darkly
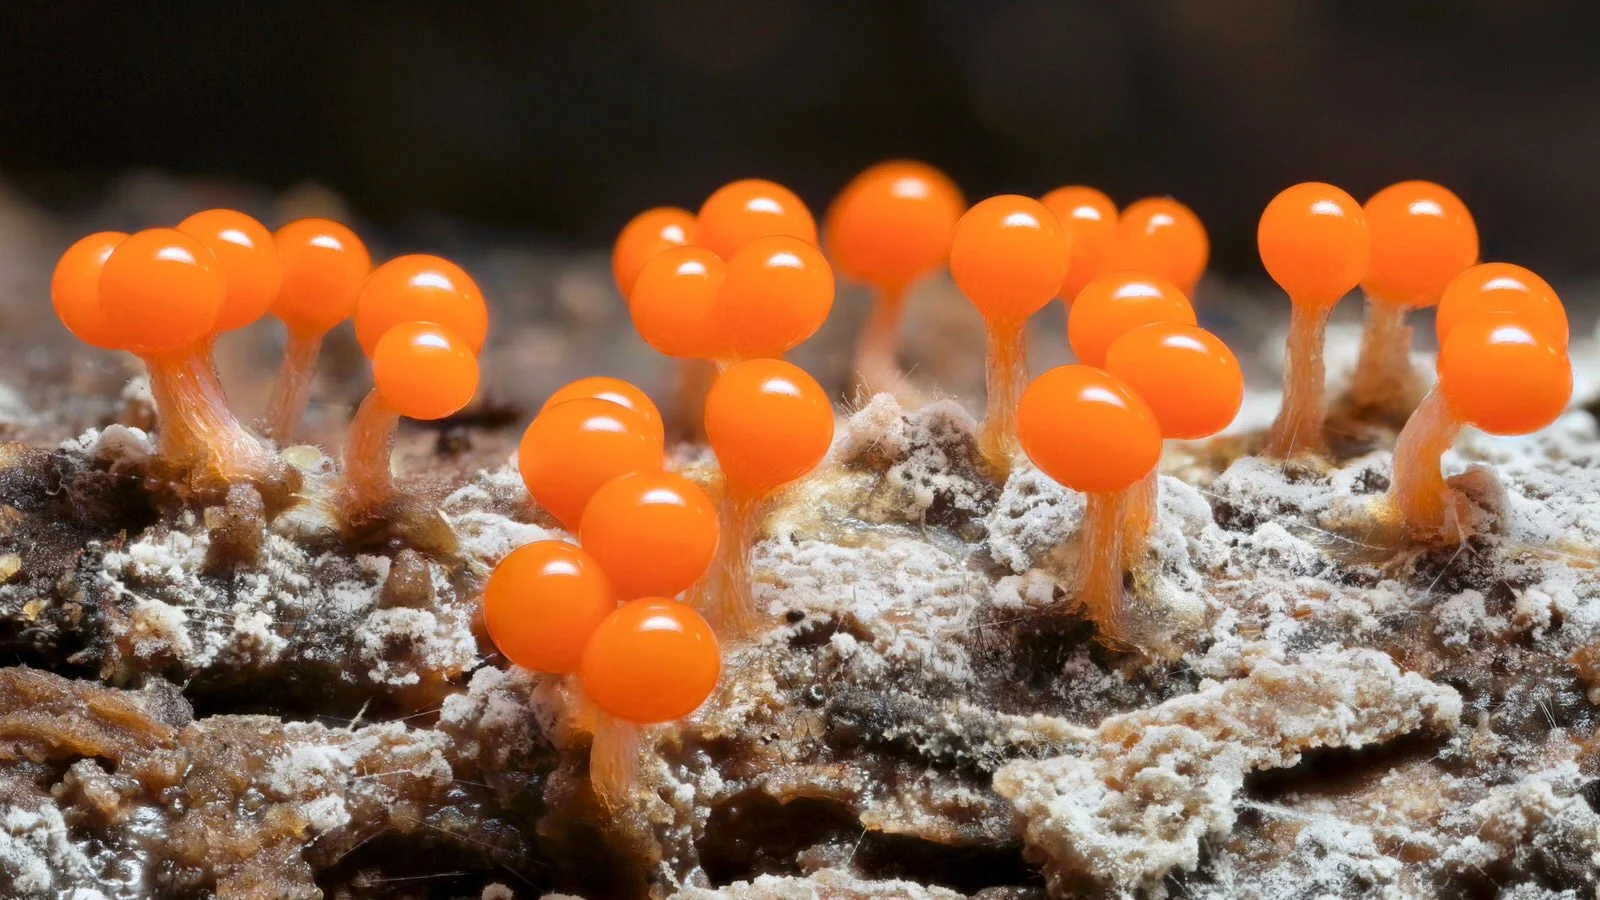
One reason why extreme macro photography is so difficult is that as you go beyond 5:1, the remaining available light for taking a photo quickly disappears. It’s still possible to take photos using a tripod, a longer exposure, a high f stop and natural light (and/or increase your camera’s ISO to make the sensor more sensitive to light, although at the expense of noise and detail), and then use stacking (see the next section) to make a photo with suitable depth. This technique works marvellously for photographing tiny mushrooms like Mycena, or myxomycetes (slime moulds) but it’s not really useful for most soil animal photography as they are usually on the move and thus require a flash. It’s definitely possible to photograph certain springtails like the Dicyrtomids for example using bright natural light, as they have a habit of standing still for minutes at a time, but for ease, I will presume everything just runs away after a few seconds, you’re taking photos handheld, and you’re in a forest or cave.
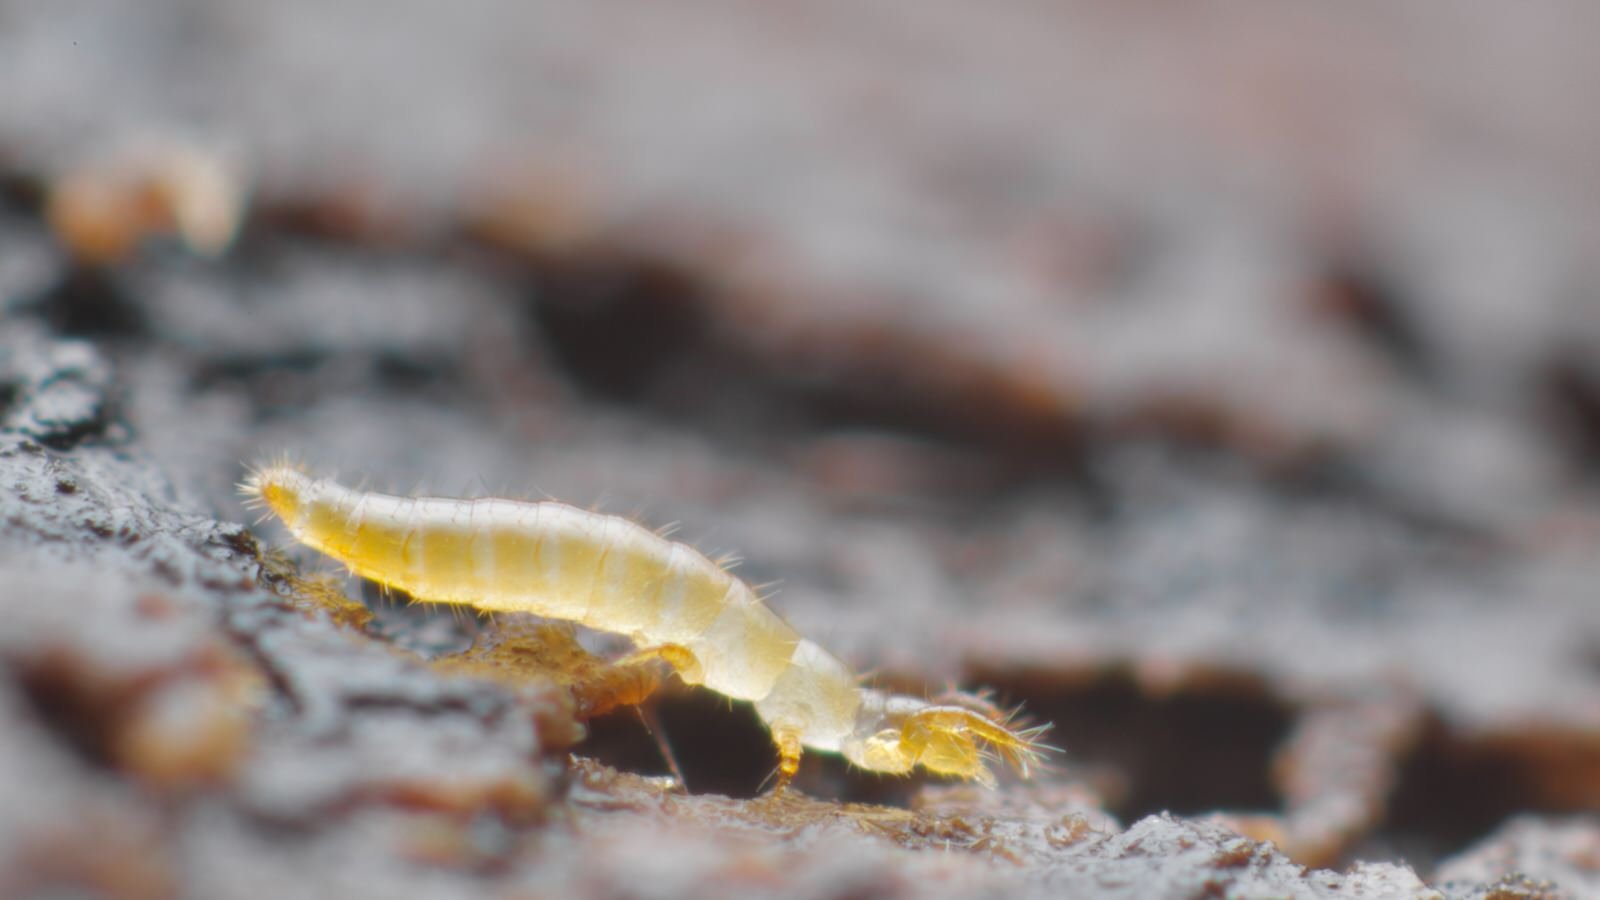
Unlike 1:1 macro photography, extreme macro photography won’t work with a flash directly attached to the camera body, as it won’t really provide enough light to the lens. Instead, the flash should be attached to a flash bracket that attaches to the tripod mount. Then an off-camera hot shoe cord is attached to the hot shoe and the bracket, so that the flash can then be positioned over the end of the lens. The higher the magnification needed, the more light is required from the flash unit. The photo of a 1 mm long proturan below was taken at x12 and is the original although slightly cropped file, just edited for light and white balance. It really shows what’s possible with a well lit, single shot at f 5.6. Normally at this magnification I would shoot at f 5, but in this case, the lighting was spot on, so the details were preserved.
Proturan, Somerset, UK
The flash captures a moment of movement and freezes it. Due to the speed of the flash, the light it produces for the photo isn’t affected by shutter speed so don’t worry about your shutter.
Using a flash also means there is a large risk of creating black backgrounds, a massive no no for me. Many macro photographers don’t seem to mind but I absolutely hate it. It feels like a lack of technique or bad luck and I can’t imagine a scenario where I would positively try to make it happen. Below, as an example, is a otherwise decent photo of Caprainea marginata that for me is ruined by the background, as it was a sunny day, not late at night. Because of this, I’ve never used the photo until now….
Caprainea marginata, Somerset, UK
All flash photography is an unnatural although necessary way in extreme macro photography to try and capture a natural situation while trying to preserve or emulate a natural look. Whether we succeed or fail in this is down to personal opinion I guess. I would far prefer not to use a flash, as it also can affect and overwhelm the dark, sensory world of my mesofauna buddies. But if I want to photograph this tiny world, then that’s the only way to do it. In the end, it needs to be an ethical choice. I try to keep things quick, and stop if the animals are obviously in distress.
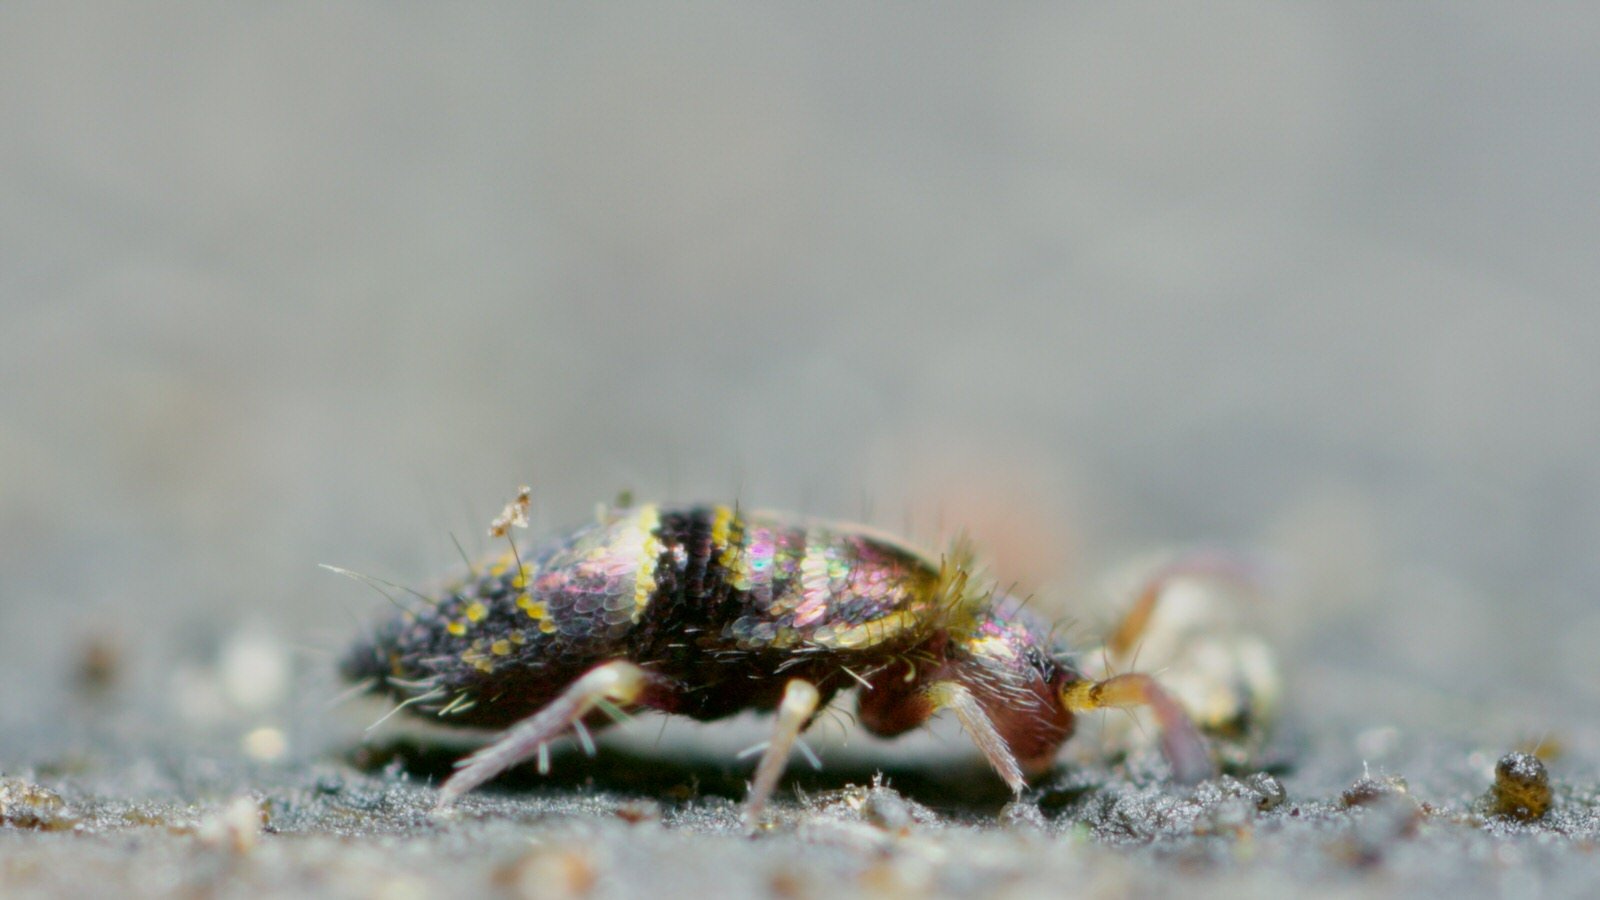
On an equal level to using the flash is the inevitable diffusion needed for the light that the flash produces. Without having a way to diffuse the flash, any macro photo will suffer from specular highlights- blown out, white, harsh reflections that can’t be fixed. A photo with soft and milky highlights is the quest of every macro photographer wanting a more natural photo, and something I’ve struggled with for many years. Below is an example of what is possible, using the very common, very shiny oribatid mite, Euzetes globulus. To make things difficult, not only is there a shiny mite, but there are also many water droplets and a film of water covering the surface of the twig that the mite was walking across. If you can make this sort of photo work, with no specular highlights or harsh edges in the droplets, you have good diffusion that you must love for ever, and never let go.
Euzetes globulus, Somerset, UK
So, in more detail, diffusion is a way to scatter the harsh light of a flash, while still allowing as much light as possible to come through. This is why photographers use soft boxes. In my experience, when working at such a high magnification, a soft box diffuser needs to be very small as a large one gets in the way, due to the lens working distance being very, very small. A small box diffuser can still cause problems in some situations as the diffuser needs to be a certain distance away from the flash to diffuse correctly, which then means that the flash might be too far away from the lens to produce enough light for a photo.
At high magnifications, a flash can also act in strange ways due to variability in the surface’s reflective qualities (such as wetness, colour or whiteness of the surface), raised areas that obscure and shadow the subject from the flash, the magnification, the angle of the flash unit and the animal being photographed. It can be very frustrating.
Back in 2020, on a cold and frosty December day in the UK, I had driven out to my local marsh to photograph an aquatic springtail, Podura aquatica for a blog post (which I shall finally write when I’ve published this post, so when I do, I’ll add the link here). As I was sitting in the freezing mud at the edge of the marshland, assembling my camera gear, I realised that I had forgotten my soft box diffuser. After swearing and cursing at my stupidity a few times (stupid stupidity), I remembered that I had a piece of white kitchen extractor fan replacement filter in the bag that I had wanted to try inside the diffuser to try and reduce the specular highlights. I had nothing else, so I taped some over the flash end. To my amazement, I immediately achieved perfect highlights. Now, with some modifications, this is now my preferred diffusion technique. It more often works for my subject matter and for my camera set up, while also continuing to amuse me that after many years of trying different and often expensive diffusion techniques, the one that works best for me is a lo-fi one. So, experiment for yourself. There is no single solution and you may need to have different solutions, depending on the situation.
Podura aquatica, Shapwick heath, Somerset, UK
A few hints on f stop settings and photo stacking
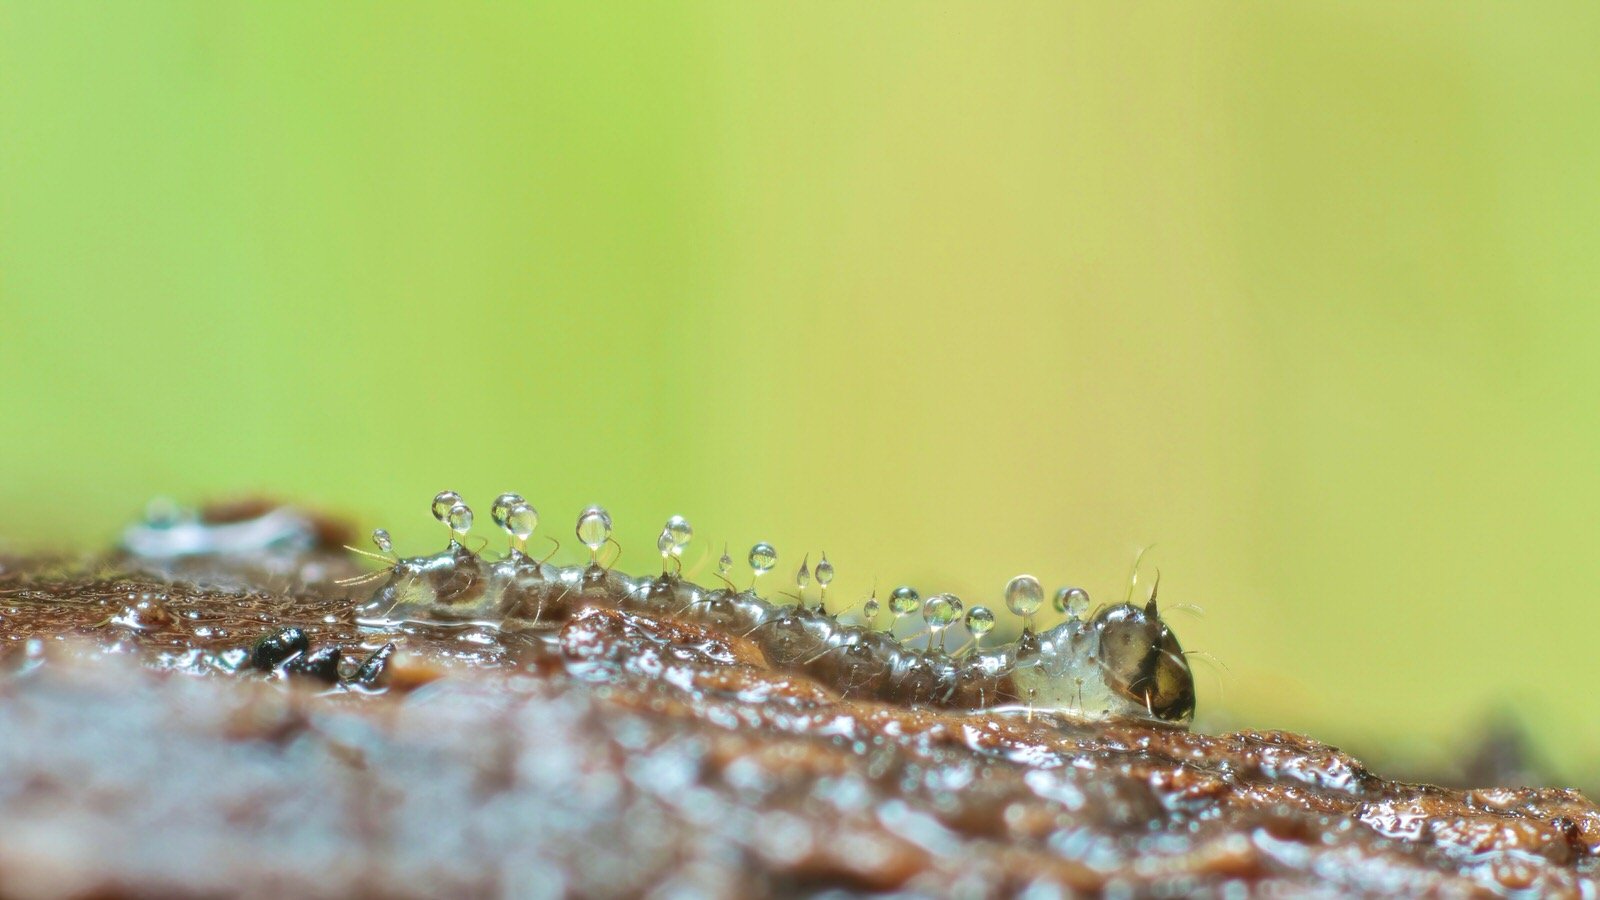
Make the f stop work for you. Having a limit of f 5.6 for example (due to wanting to retain detail and background bokeh) can often mean coming up with creative solutions that benefit the finished photo. In the photo below of a Mycetophilidae (fungus gnat) larva, I was trying to photograph the whole animal but it was too busy spinning its web to get any decent shots. Instead I took photos trying to just get the head in focus as it flicked around, resulting in this image that makes use of the out of focus body to give dimensionality to the shot.
Mycetophilidae larva, Tairua, New Zealand
It’s also often about finding a balance. Less magnification means you might miss some details but you will have more in focus as well as perhaps creating a better picture. It really just depends.
This f 5.6 single shot of Bourletiella arvalis below is a good example of this, as I photographed her as she walked towards me, meaning that the in-focus part was the head, and most importantly, the eyes, and that was all that was needed. Taking the shot with slightly less magnification also meant that the thistledown and her walking across the strands became part of the picture, which is a remarkable feat, as springtails can only see light and polarised light. Amazing animals. These kinds of behavioural shots are something I love and strive to capture when I have the opportunity.
Bourletiella arvalis, Nova Scotia, Canada.
Detail is a wonderful thing in any macro photograph, and when combined with a reasonable depth of field, will increase your chances of getting a decent photo. However, with extreme macro photography, this is easier said than done, as detail is always sacrificed for depth of field.
Beyond f 6.3, while the in-focus part of the photo will be increased, the image becomes too soft and quickly worsens beyond usability for all but the largest animals, where some sharpness can acceptably be sacrificed for a usable single shot. This is a huge difference between normal macro photography and extreme macro. Lower f stops are hardly noticeable when taking photos of butterflies and spiders as they’re so large. In the mesofauna world, as most of your subjects are under 2 mm big, softening and losing important detail very quickly becomes an issue. On the plus side, as your subjects are so small, taking a photo at f 5.6 will give you enough depth of field to get them mainly in focus, unlike a similar f stop with a butterfly. Lower f stops will also make your photos become darker, due to the aperture being made smaller, so you would also need a higher flash intensity to compensate.
When taking extreme macro shots, there is a sweet spot with ‘made for macro’ lenses at around f stop 5.6/6.3. This is where the in-focus part of the photo meets the acceptable diffraction/sharpness of the lens. A higher f stop with a larger aperture like 5 will provide a slightly sharper image, but the ‘in-focus’ part of the photo is reduced and often leaves too much of the animal out of focus to be used. The cropped photo detail below shows a Lepidocyrtinus species of springtail in New Zealand. An absolutely beautiful animal but due to the photo being taken at f 5, it’s unusable, as only the nearest quarter of the animal is in focus.
Lepidocyrtinus species, New Zealand
These issues of softness and usability can fortunately be mitigated to a large extent through photo stacking at a higher f stop than would normally be used for a single shot photo, such as the stacked photo below of a biting midge larva, taken at f 5, and using 6 photos to make the stack. There are a few specular highlights, but overall, a decent photo. The angle was a lucky accident, as was the green behind, caused by grass.
Forcipomyia larva, Stewart Island, New Zealand
Photo stacking is where two or more photos are taken at different focal points and then combined into a single photo later with a specific software programme like Zerene Stacker or Helicon. Photoshop can also be used to stack photos but isn’t as easy to use as programmes written specifically for macro photographers.
Where a lot of macro photographers go wrong, including myself, is when we try and stack too much of the subject, as we have a whole sequence of shots, without first considering whether we should. In the worst offending photos, it creates a weirdly sharp, flattened, one-dimensional and ‘uncanny valley’ image, rather than achieve a natural and subtle result by using discretion and only stacking from the front to part of the back. I only have a few springtail examples (I’ve deleted most of the rest of them), with the photo below of Dicyrtoma fusca being the worst. This is also stacked with severely overexposed photos (hence me not being able to rescue the colours) and rather embarrassingly bad, but it illustrates this flattening phenomenon well. Learn from my mistake. This specimen was also the first time that this species was recorded in the Southern Hemisphere, so that’s kind of cool, and why I kept it, but it doesn’t make up for the awful photography. Next to it is another stacked photo of D. fusca, this time properly exposed and stacked sensibly. Compare and contrast.
Dicyrtoma fusca, Christchurch, New Zealand
Dicyrtoma fusca, Somerset, UK
The one-dimensional, flattened effect can also be seen in this photo of Trichia decipiens below. Apart from the finished stacked image using far too many photos, the angle isn’t great, the ground surface continues in full focus for far too long and the photo also suffers from harsh specular highlights as well as a black background, due to flash fall off. This is a good example of how not to take or stack photographs. Just out of interest, I’ve also included another more aesthetically pleasing stacked slime mould photo of Oligonema verrucosum next to it, so that the differences are more obvious…
Trichia decipiens Tasmania, Australia
Oligonema verrucosum New Zealand
This natural look is far harder to get when using a microscope objective as you will get a sharp drop away of focus wherever you choose to stop. This is another reason why I don’t use objectives. The detail available with a normal lens is enough for me, but of course, it’s an aesthetic choice.
When to stack…
At such a small scale, a 1mm springtail or mite might just have part of its body in focus depending on the f stop used. So, if the subject isn’t moving, the solution is to take a series of shots, in manual settings, as long as the subject stays still for long enough, and shift the focal point each time by moving the camera and lens in extremely small increments. This is only an extension of the small movements required to focus a photo anyway. Just remember that even stacking two photos together can have a huge difference and make a great photo. Other times, stacking a photo isn’t necessary or the single photo works without any more work. Taking photos that are suitable for stacking is difficult (of course it is), and there is also a learning curve involved in using any stacking software. But this technique is extremely effective when used well. As another example, the photo below of a Pseudachorutes species of springtail eating a slime mould fruiting body is made up of six stacked photos. While I would still prefer to lessen the in-focus areas of parts of the surface, as they look a little flattened (an issue with stacking), overall, it’s a photo that I’m really pleased with. Without stacking, I wouldn’t have been able to capture such an image.
Pseudachorutes species, Queensland, Australia
Make mistakes
A very useful thing about digital photography is that you are not tied to 24 or 36 exposures, as macro photographers were, 20 years ago, so take as many photos as you are able and make mistakes. You will need to get used to taking thousands of out-of-focus, and under- and over-exposed photos. Even after all these years, I still take many utterly awful photos. The difference is that when I get it right now, they’re very usable photographs. As with any skill, it genuinely seems to take the classic 10 000 hours to get good. Even more so than normal 1:1 macro photography, when you are photographing at higher magnifications, focus is everything and so, so much harder, due to the thin sliver that will be in focus. Even a 0.01mm shift will affect the final image, so having the extra flexibility of digital is invaluable.
Techniques in the field
The following points are some useful techniques to observe (including some of the previous points), when photographing mesofauna in the field that will elevate your photos:
Get yourself a loupe. This is a good quality magnifying glass and is incredibly useful. It’s always part of my kit.
Make sure you’re taking a photo at around f 5.6 for 1 mm-big animals. This again is a sweet spot for a photo subject being in focus while retaining sufficient detail.
Without a focusing light, the view through the lens is often dark above 1:1. I personally use a tiny torch on a miniature tripod to add light to the scene, but many other techniques also work.
Think about composing a picture, not just taking a photo. If there are interesting micro fungi in the photo, or the animal is on colourful bark or a leaf, use them. It’s not all about detail. Think of the animal in its environment and the colours it stands against and take time to frame the subject with some thought and aesthetic sense. Maybe less magnification would work better, so consider taking multiple photos and see what magnification works best for the final picture you want.
Be aware how the background can affect the flash and exposure and compensate accordingly. Check your resulting photos frequently to check for under- and overexposure.
Make sure that the head and eyes are in focus. I personally reject any photo that is out of focus like this. The rest of the body is less important for a good photo, although obviously so much better if you can capture both.
Get down at their level. Most springtail photos I see online are still taken from above or at a curious angle. I learned to take the time to position my lens so I am down low and on their eye level. It makes a huge difference. However, it can still be useful to take shots at different angles to identify an unknown animal, so if there’s time, try and do both.
Blacked out backgrounds are a huge bugbear of mine and I usually reject any photo I take if this has happened. It is the nature of flash photography that there is a rapid fall away of light when there is nothing behind the subject to bounce back the flash, so even on a sunny day, it can look like the photo has been taken at night. There are a few ways to avoid this. One is to have a secondary slave flash to light the background, that is triggered along with the primary flash. I have never used this but I know some people who do. For me, I need to move quickly, and setting up and constantly moving a secondary flash as well as my camera is too much to think about. The second way is to work near enough to the ground and let the natural surface reflect back the flash, which is what I do. I hugely dislike using coloured cards to acheive this. It feels tacky, fake, and kind of cheating, and while the results can look pretty, it seems lazy.
Like most photographers, I love having bokeh in my photos (bokeh is from a Japanese word boke, describing an out-of-focus background that isolates the subject in a pleasing and aesthetic way). This is a major benefit of working at f 5.6 or higher, as with lower f stops, the bokeh will reduce and disappear, and more of the background will come into focus.
Put everything back how you found it. Due to the nature of such small animals, the mesofauna are usually under leaves, logs or stones, or within the soil and will die if not able to return quickly back into that regulated, damp environment. Along with that, think about how you access an environment and respect it. Wash your boots and clean your clothes and equipment to avoid spreading diseases and pathogenic bacteria.
Don’t forget to look up and take a moment. I often forget, and miss seeing a beautiful day when I’m in the zone.


